I wanted to share my grid charger build and detail some findings and some nice components.
My 2008 Honda Civic Hybrid has 130000 km on it recals happen if I floor it for a decent length of time or when going uphill for extended time. The SoC indicater rarely goes below 6 bars before recals. Only once seen it at 5 bars during a long motorway drive. So it may be beyond recovery with a grid charge/discharge but I am enjoying the project. If after grid charging fails i may buy a refurbished battery from a company here in ireland.
I'll make this a few posts to make it easier to document.
One question im still not quite sure of is the allowable grig charger voltage... Ive been reading in some places that you should not go over 190V but elsewhere 200v seemed to be fine and even read some commercial products with 205v rating. My current build was aimed for 190v but as with many chinese products the tech specs are a guideline, resulting in me having a 200v charger. So just wanted to know if there is anything I should watch for using this higher voltage.
Still to do: Wire car charge harness Figure outand wire fan with PWM controller Figure out and wire in line amp meter(unfortunatly i
believe this needs to be unidirectional) Wire volt meter Wire discharge port and load
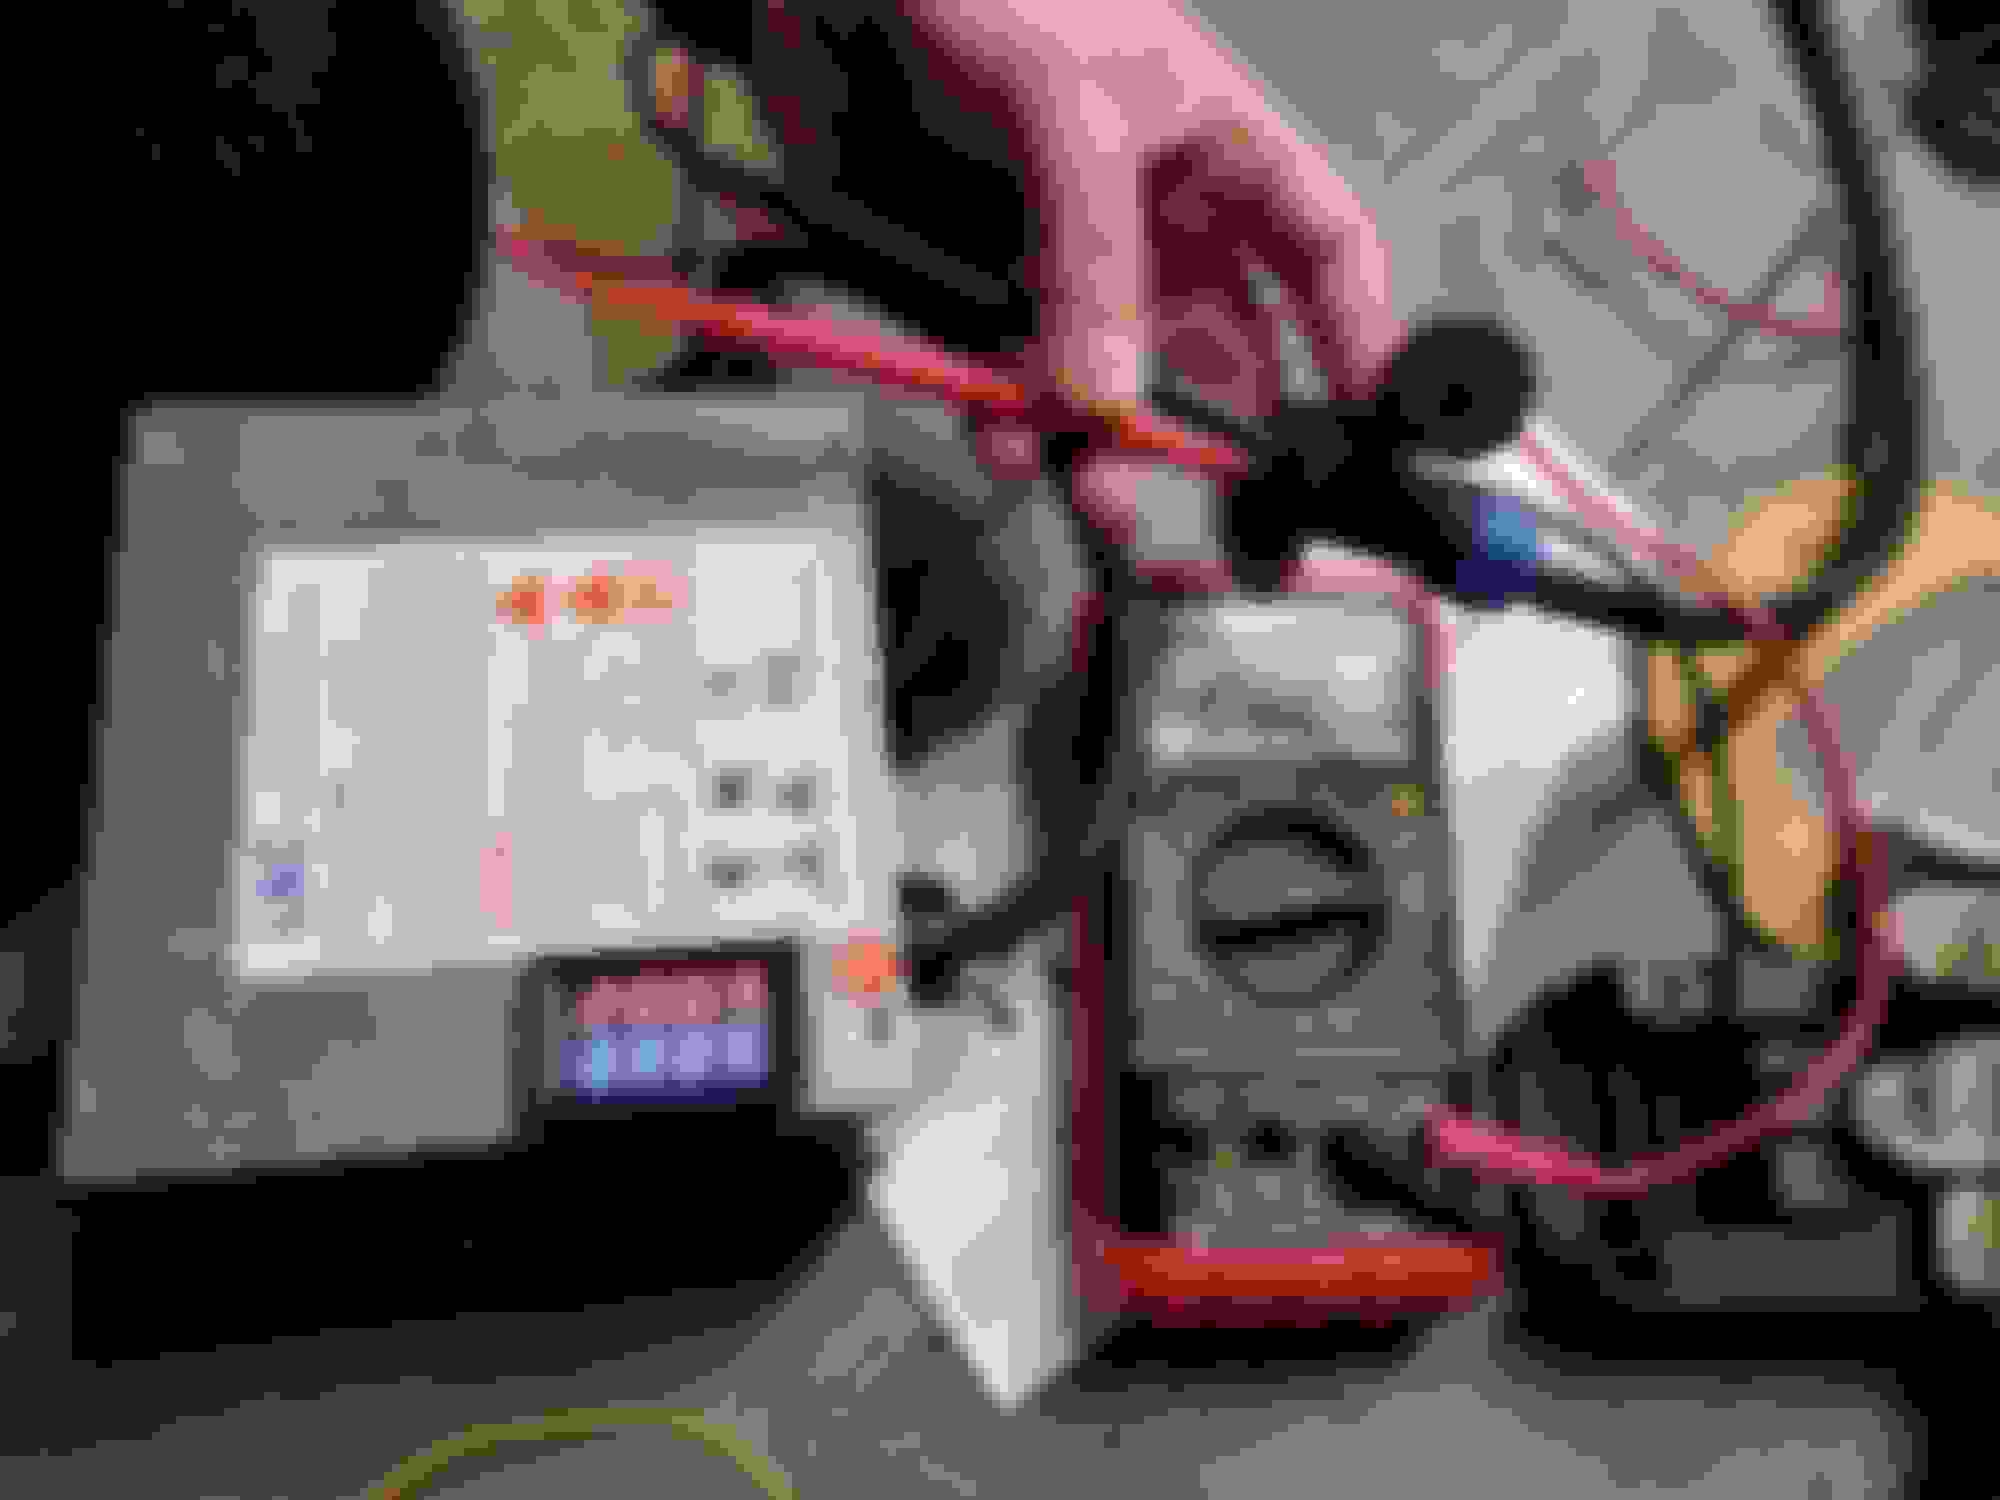
Photos: Testing voltage with harness vs display Testing pwm with cpu fan Testing display with 200v switched on
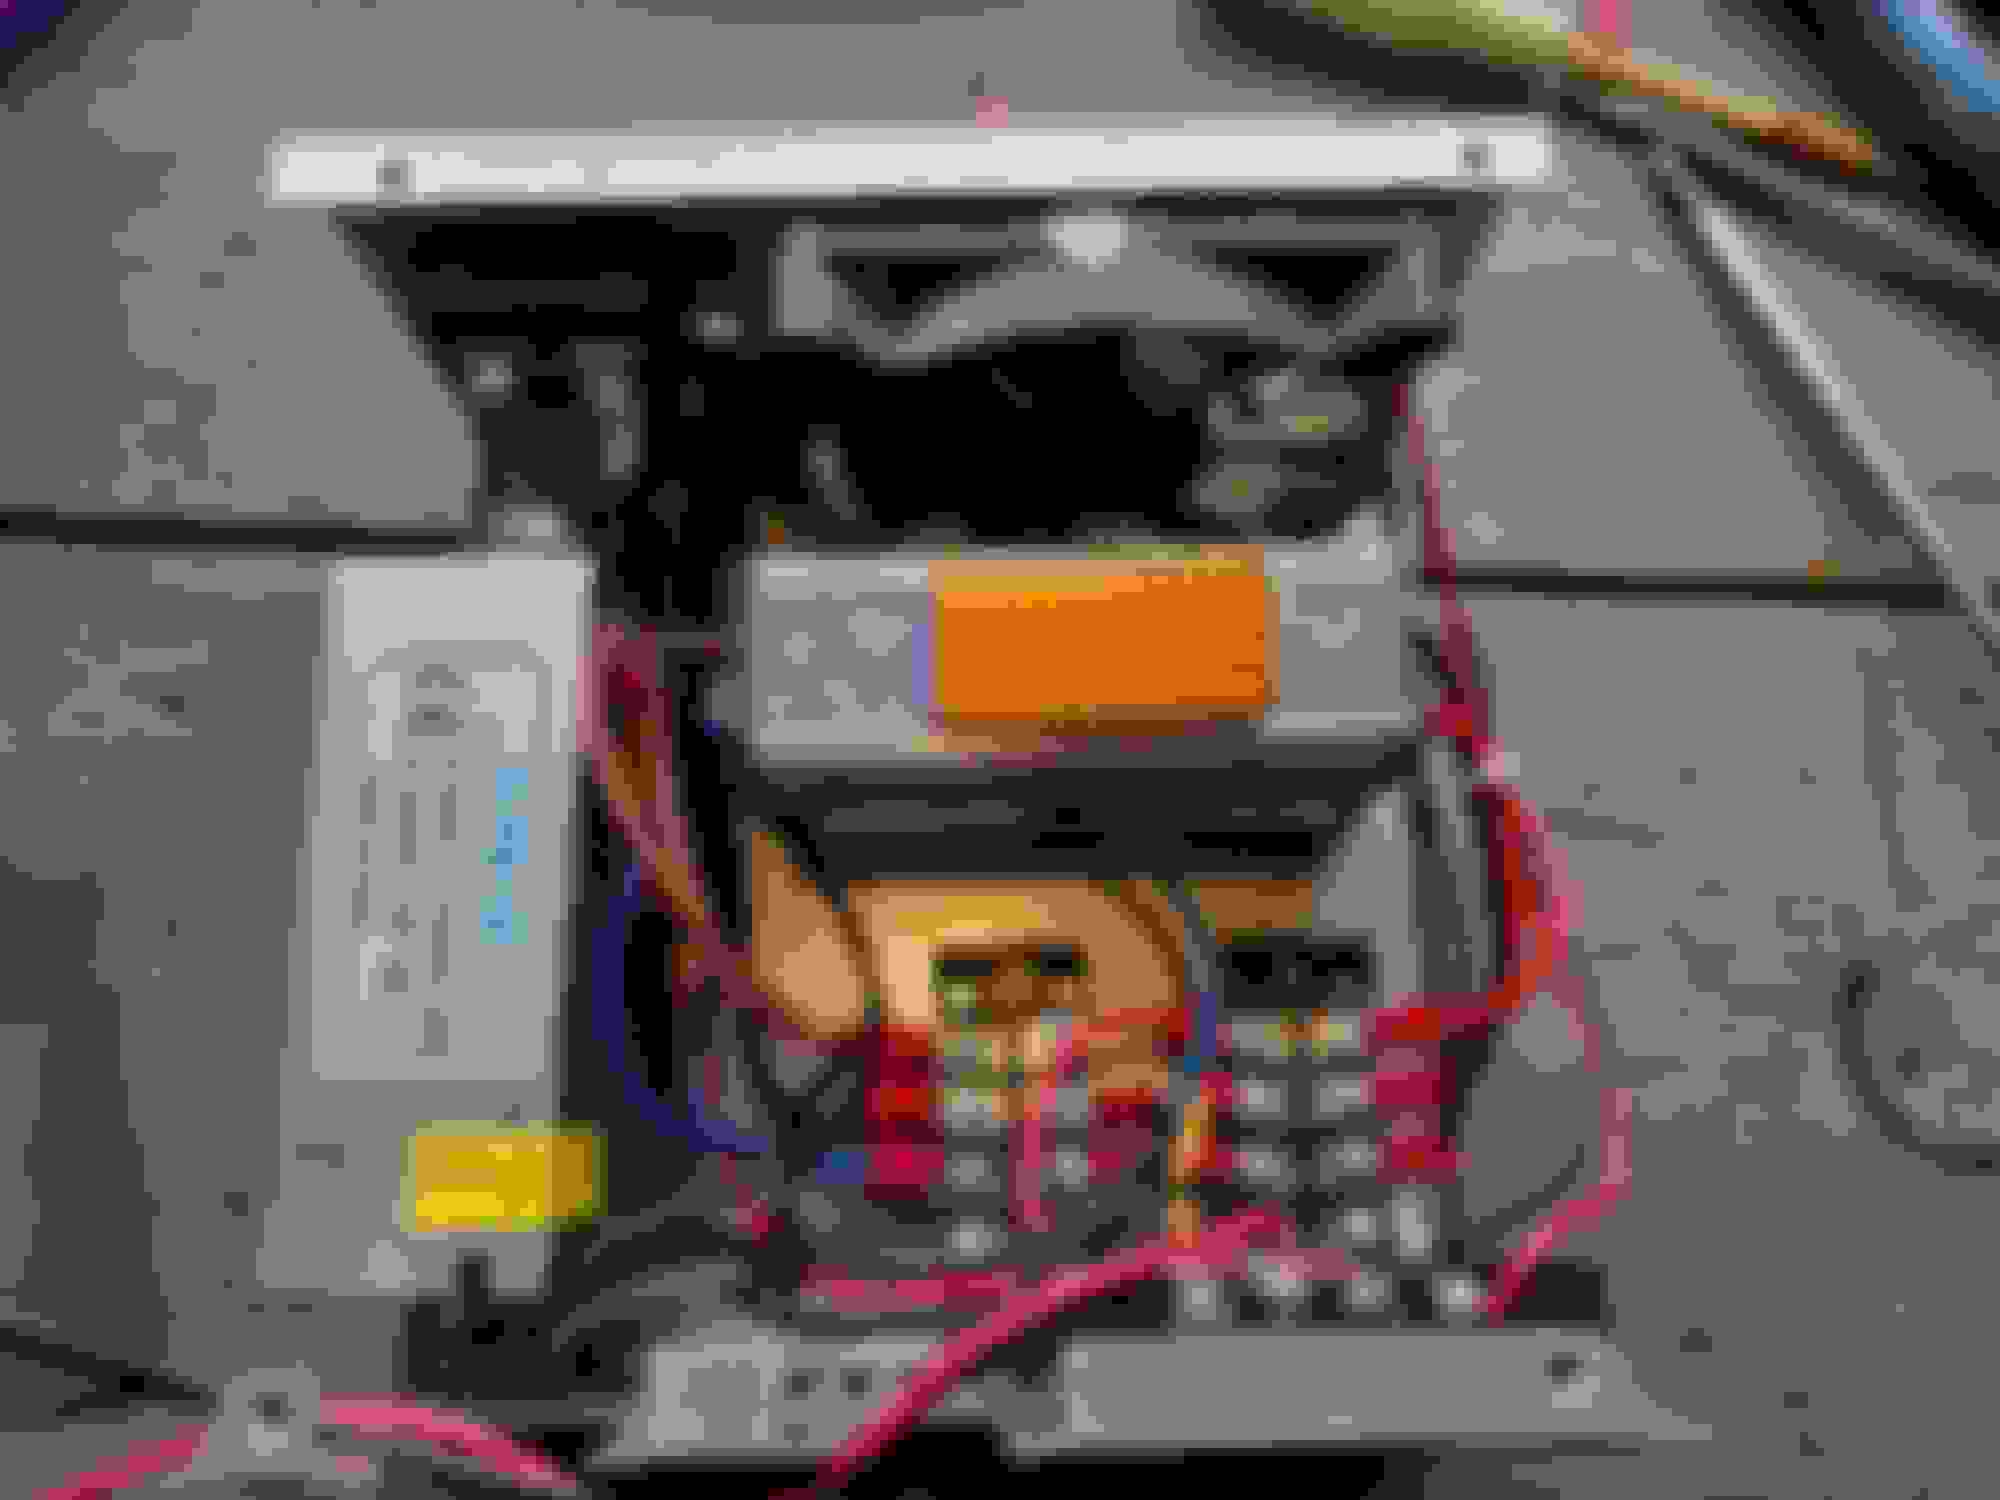
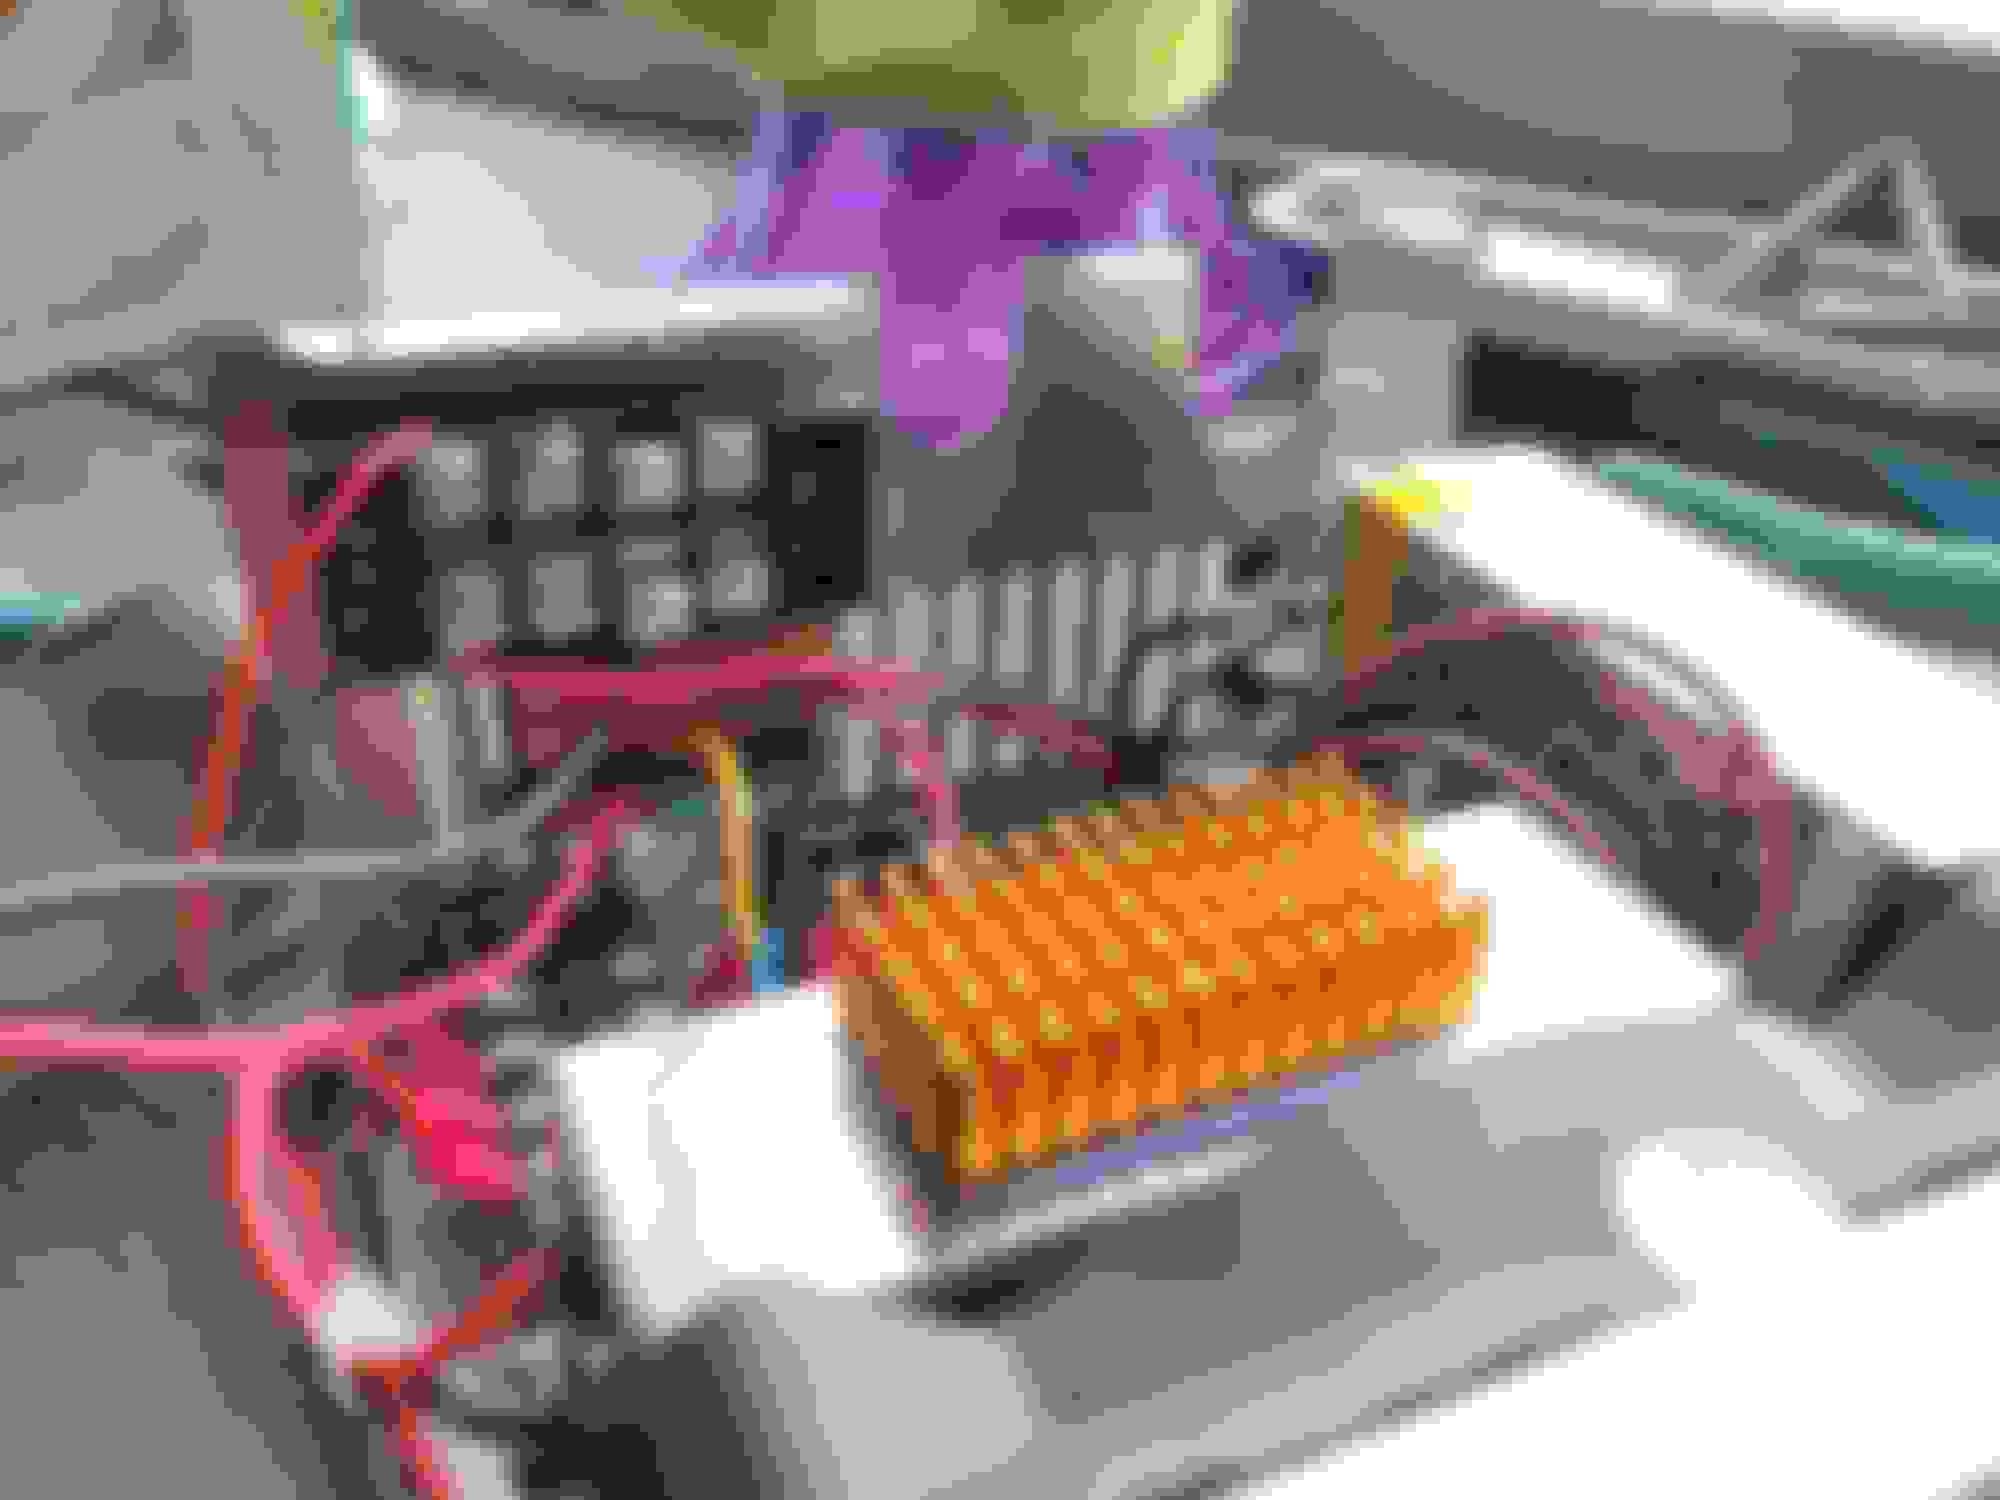
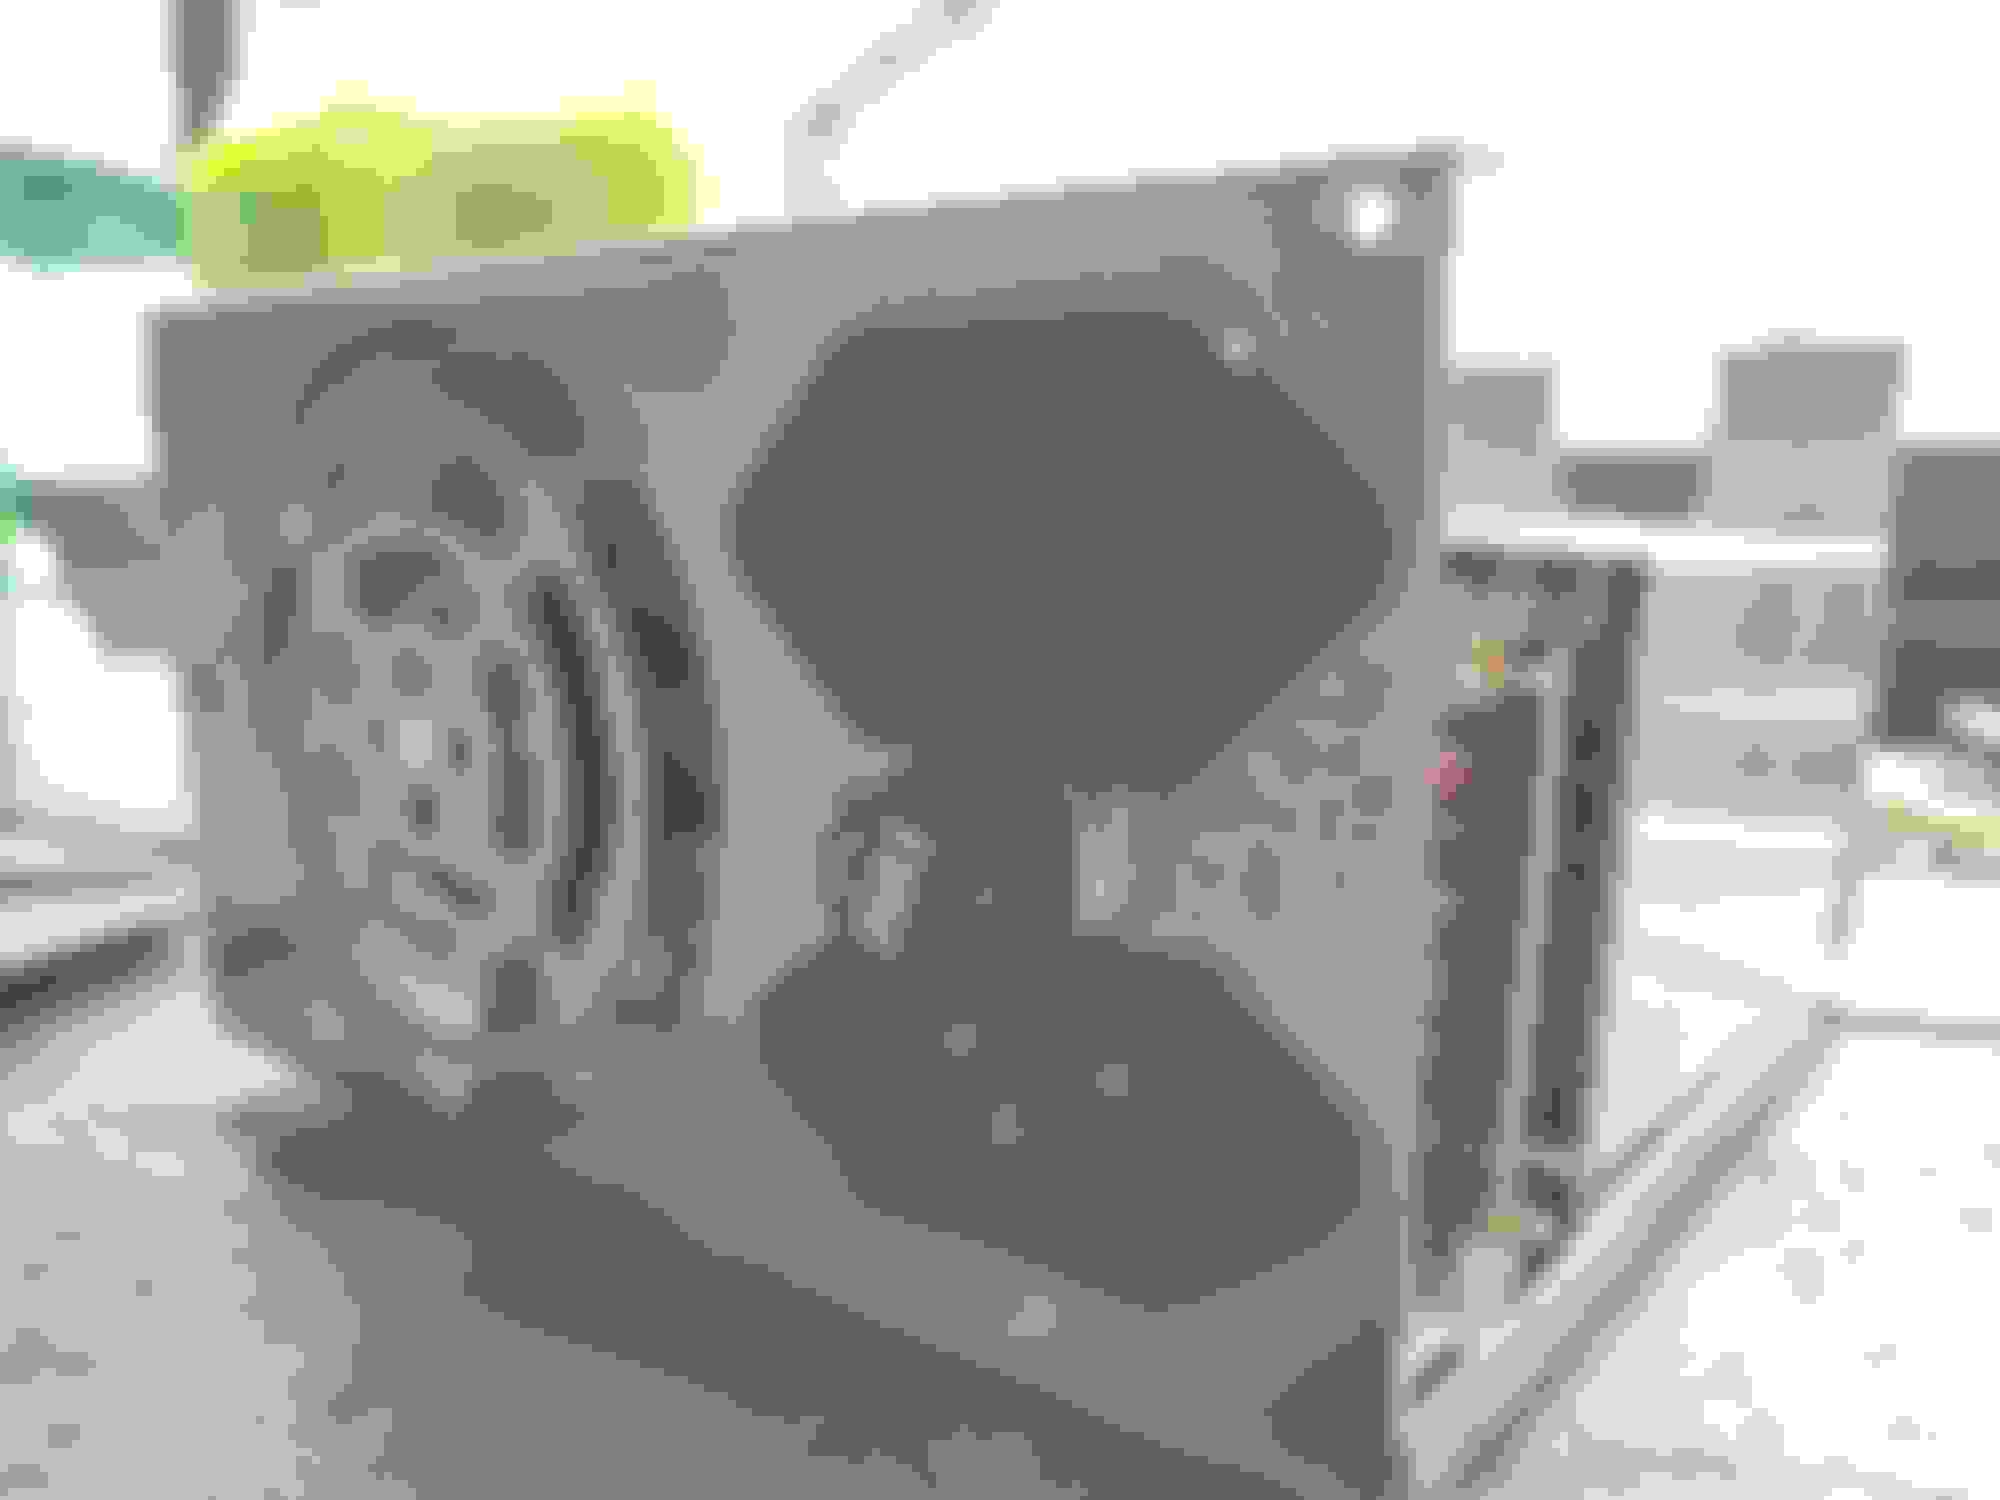
Grid charger overview View of circuit board View of 220vac, fuse and future discharge port. View of supply arrangment and cooling fins Closeup of circuit board PWM controller and display Case cover and display placment Volt display powered on and in case Connector on cable Marine connector details Marine connectors detail
Last edited by Kevinmce; 01-13-2019 at 12:56 PM.
Reason: Adding photo
Weird link behavior in Chrome. If I just click the links, I get a search page on ali express. I have to ctrl-click them to get to the actual items.
Some comments:
The LED PS you linked are 90V meaning you will peak at 180V � error. 200V minimum. Most packs will peak progressively higher as you recondition them with charges/discharges. In my experience, most peak around 195, but I have seen them go over 200.
I prefer Meanwell APC-35-350 x2. Wider voltage range, 350mA.
You could charge with a power supply capable of 500V and have no issue provided the PS is constant current and regulates its own voltage within the operating range of the batter. A battery voltage will only go as high as the charge current allows. Unfortunately, 240-300mA is definitely at the low end. Hopefully, yours are closer to 300mA.
You will need a suitably rated diode to protect the LED PS from the battery voltage. If you do this in the harness, you won't be able to discharge the pack.
When grid charging, you need to put in 1.6 * capacity = 1.6 * 5500mAh = 8800mAh each time you charge. At 300mA, that's 29-37 hours depending on your current. Calculate your charge time according to your actual current. Hopefully, they are pretty constant and not variable within that range.
The WORST thing you can do is cut a charge short and then discharge it - great way to cells.
Don't fall into the trap of these crazy deep discharges. They are a shortcut that increases risk of damage. Conduct 3X charge/discharge cycles to 132V, 119V and 106V. Again, 29-37 hours charging EACH TIME. Below 145V limit discharge currents to 200-400mA. You can use any current you like above that.
To properly do this, you're looking at nearly a week of down time. You can compromise by doing one cycle per weekend. You can expedite the last charge before driving as follows:
1) Charge for 6 hours
2) disconnect 12V for 60 seconds, reconnect
3) Start car and idle charge until it stops
4) repeat 2 & 3 a total of 3 times
5) grid charge overnight until you have to leave for work on Monday.
#2 may take 30+ minutes the first time, 3rd time will probably take very little time.
NEVER grid charge without confirming you have battery cooling. IPU lid must be in place and secured, and you should confirm air is being sucked in from the upper deck. 3A will be insufficient to drive the cooling fan at anything greater than about 40% duty cycle, but that should be more than enough.
Charging in very low temperatures is very inefficient. If it's much below 10�C, you may need to increase your charge times or use a small space heater to raise the interior temperature of the car.
Otherwise, excellent work. I really like that PWM controller.
Good luck! You've done the right thing by getting after it BEFORE you have an IMA light.
Thanks for the feedback S. Keith, you seem to be one of the most knowledgeable people around here for these honda's.
Ive gotten some more of the final items finished from the list today,
Wired the voltmeter to the 200v rail.
tested the pwm controller with a cpu fan
Wired the charge cable (box to connector)
Verified the final voltage with the display
With the pwm im planning to keep the pwm control board inside the car side harness as i did not account for the pwm signal when buying the charge cable. With only 4 wires im limited to 12v and 200v rail. I did not want to common ground these. So the pwm will recieve the 12v rail and from that the +- and signal to the nearby fan. One thing i realised was that when in normal use the car would likely power the pwm controller and cause conflicting pwm signal to the fan. I will get around this by putting a diode in line between the controller and the fan ensuring it does not get back powered .
After doing a trial run of opening the ipu compartment and checking where the harness could be routed I see that it could be possible to wire the fan without removing the IPU. But i guess wiring to the battery relay would be difficult.
I followed the hybrid automotive directions and from that im wondering if anyone has suggestions on diy splicing into the fan harness? Has anyone made an adapter that fits between the oem connectors?
Other than that the hookup seems to be fairly easy. I was happy to see afterwards that the radio did niot need a code.
Yes, Hybrid Automotive has made an adapter as part of their harness.
Radio code is usually only necessary after a 12V disconnect. If you did disconnect, then maybe it's only on U.S. spec cars? Both of my '06s, 1 with and the other without NAV needed codes following 12V disconnect.
Indeed as following the hybrid automotive instructions i disconnected the 12v battery, the radio lost its preset channells but no need for radio code.
The splice connectors look ok tho the pwm signal wire is smaller and require a different splice. I was really after a male/female connector to go inline with the oem harness. If its not available I might aswell cut and solder my connections.
Edit, found the connector harness online, nice photo of it too, but not worth shipping to ireland.
So I've gotten some splice connectors in the auto store 4 for 75 cent. They will likely work for all connections, I'm building an enclosure for my pwm controller and going to get it wired up.
One thing I'm getting a little lost on is the best diode to use... The voltage drop I'm not worried about. I can adjust the supply to over volt a little. The max sustained current should be 3A at 12v and I'm havi g trouble reading this from the data sheets.
Anyone with a bit of experience with diodes able to help?
Diodes I have available are: 1N4148 1N4007 1N5819 1N5399 1N5408 1N5822 FR107 FR207
When you click on links to various merchants on this site and make a purchase, this can result in this site earning a commission. Affiliate programs and affiliations include, but are not limited to, the eBay Partner Network.
 01-13-2019, 12:34 AM